Easy Frame For Wood Panel
Earlier this year I painted two commission pieces on 1/4” wood panels. I used the panels because the collector had frames they wanted to reuse and the wood was a perfect choice. When I began painting pieces for the Christmas season, I decided to repurpose some of the left over wood. I was very happy with the paintings and thought that I could elevate them more with a simple frame. Since the panels were scraps they were odd sizes and custom framing wasn’t in the budget. I decided to take a trip to Home Depot to find inspiration for framing options and found a perfect solution in 8’ special molding that looked just like gallery frames. All you need is access to a miter saw (and in my case, a good friend’s husband to make the cuts for me), wood glue, wench straps and paint.
STEPS:
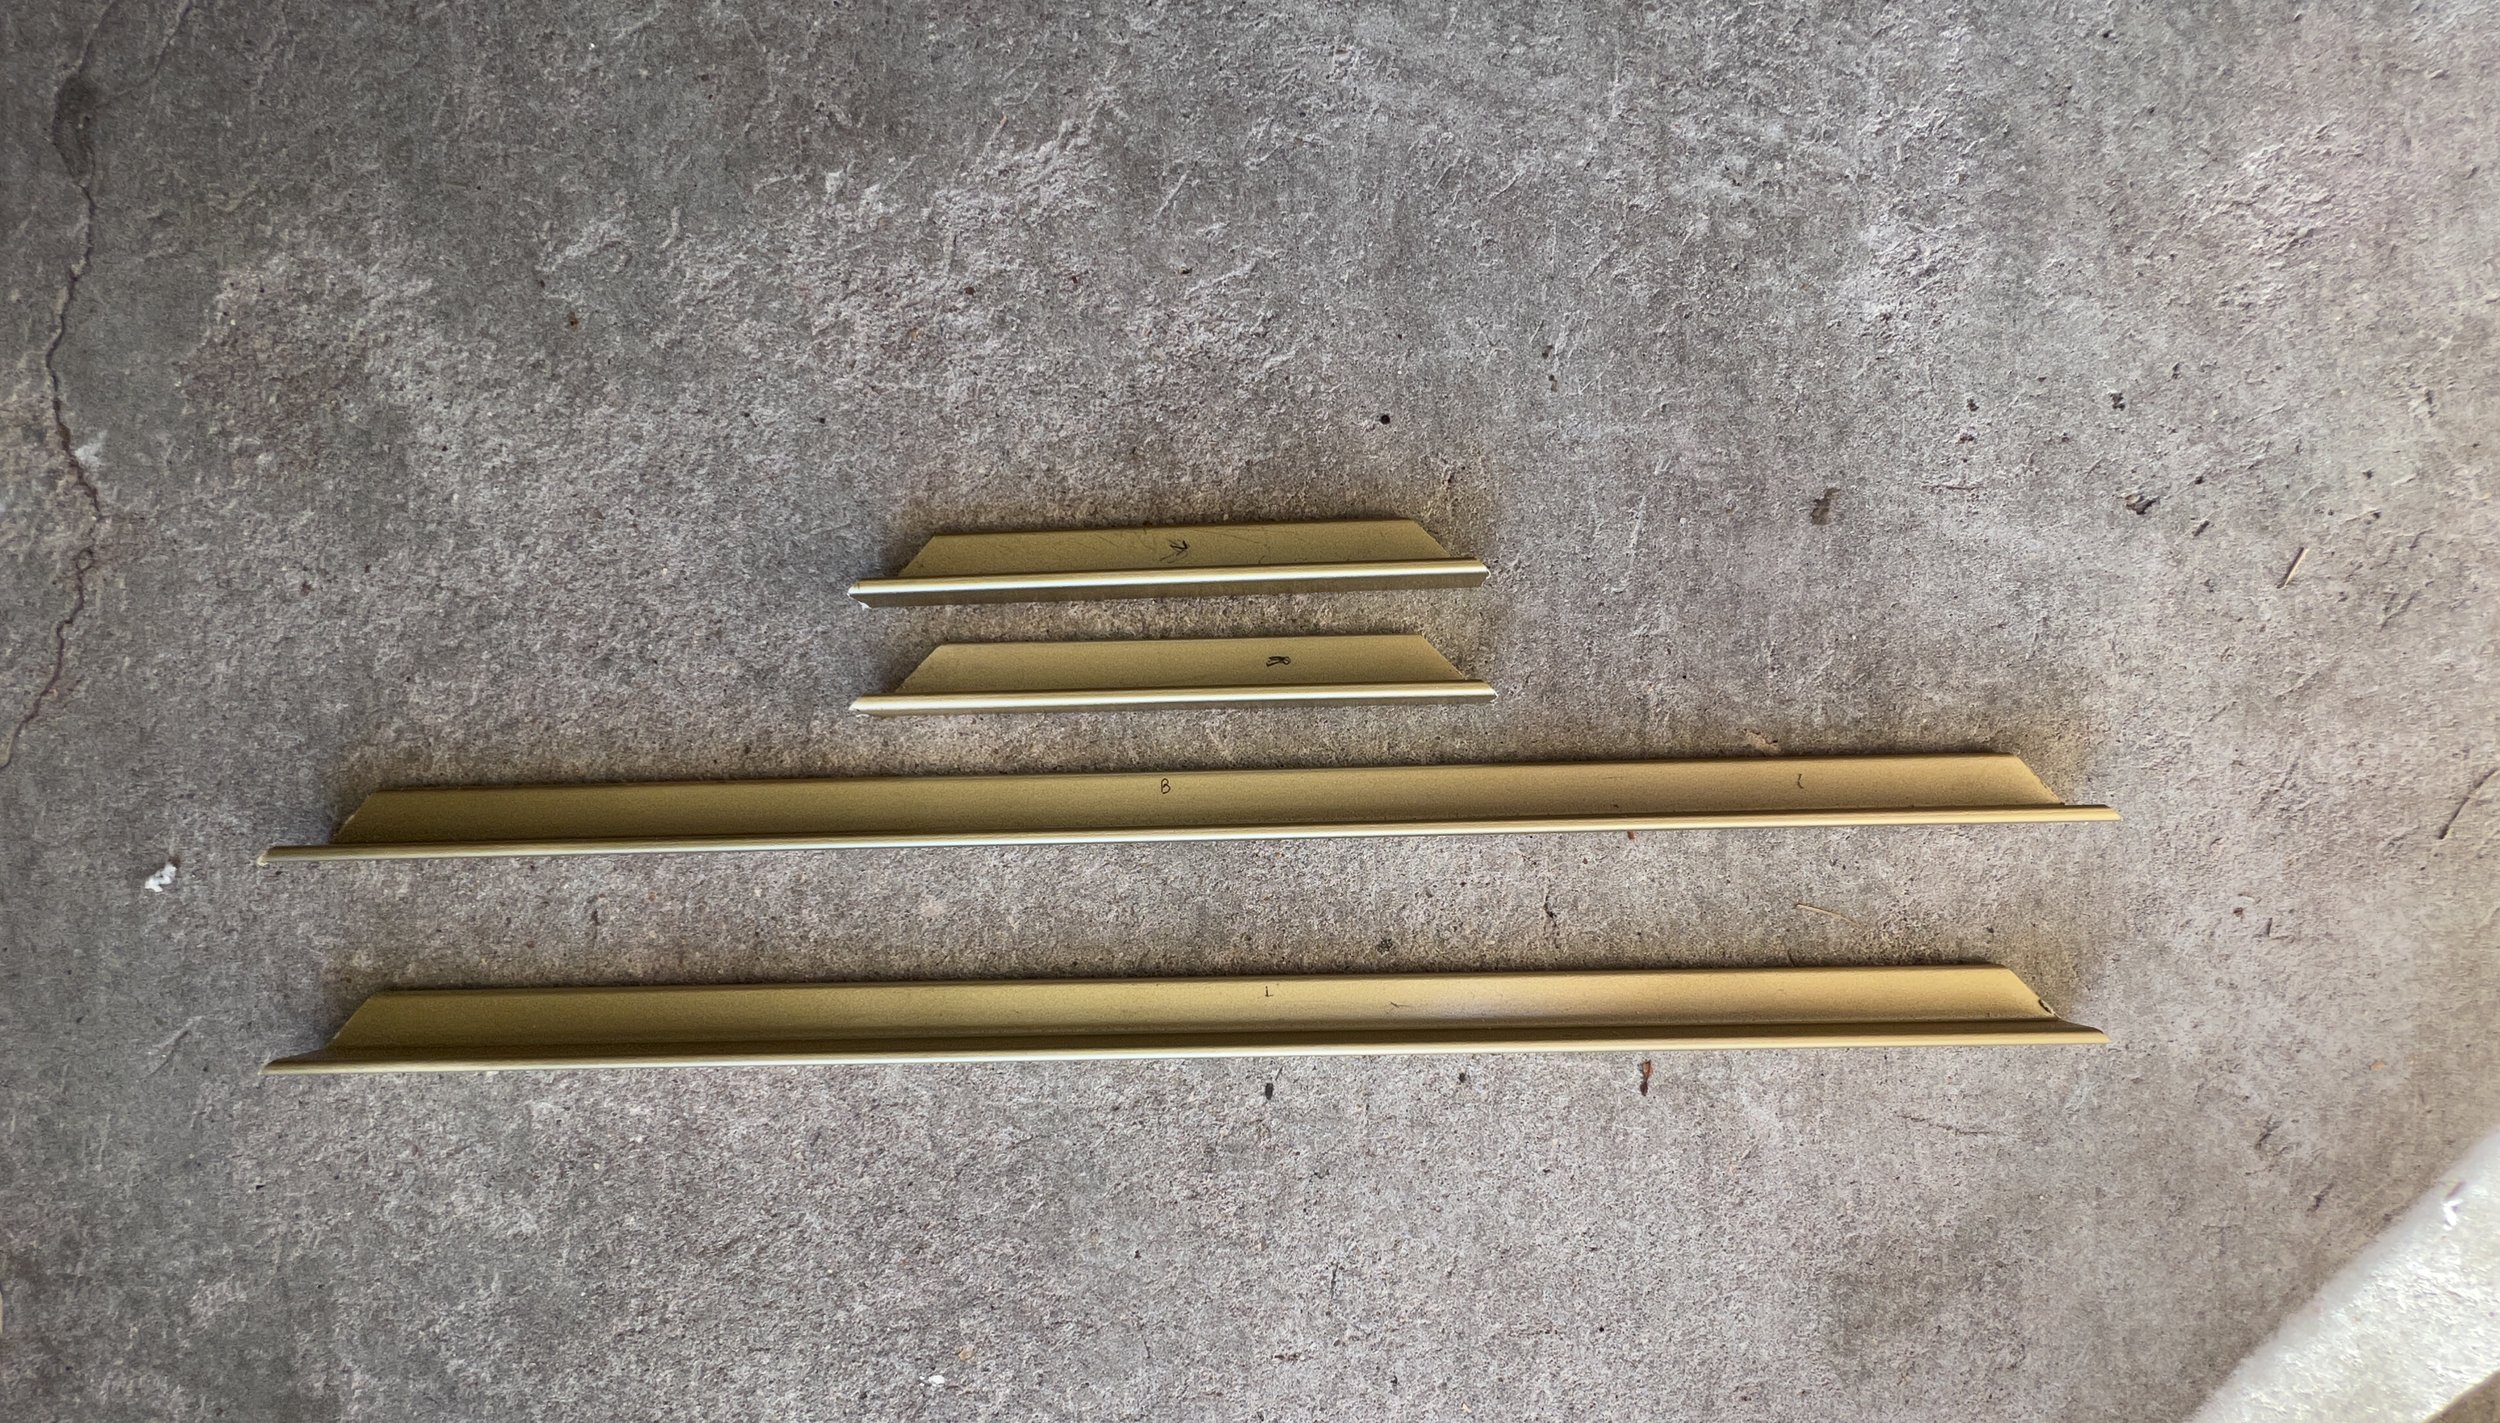
Measure and cut molding with 45 degree cuts into proper lengths to fit snuggly around your art. It is helpful to mark each section with a pencil as top, bottom, right & left.
Sand rough edges
Apply wood glue to each corner piece and fit frame together
Wrap a wench strap around the frame and tighten until frame corners are flush
Allow glue to dry overnight
Remove wench strap
Paint frame your desired color and apply a sealer coat for protection. Allow to dry thoroughly.
Apply glue to the back edge of the wood panel or the front facing part of the frame, I think it’s easier to put glue on the frame, and place your painting into the frame and apply moderate pressure. Remove any glue that seeps out.
At this point I protected the painting with a towel and placed weights on top to ensure a good seal. Allow to dry overnight
Admire how awesome your painting looks!
I spent $25 for 24’ of molding and was able to frame three 8” x 24” panels with some left over that can be use on a smaller painting. I was thrilled with how the frames turned out!.